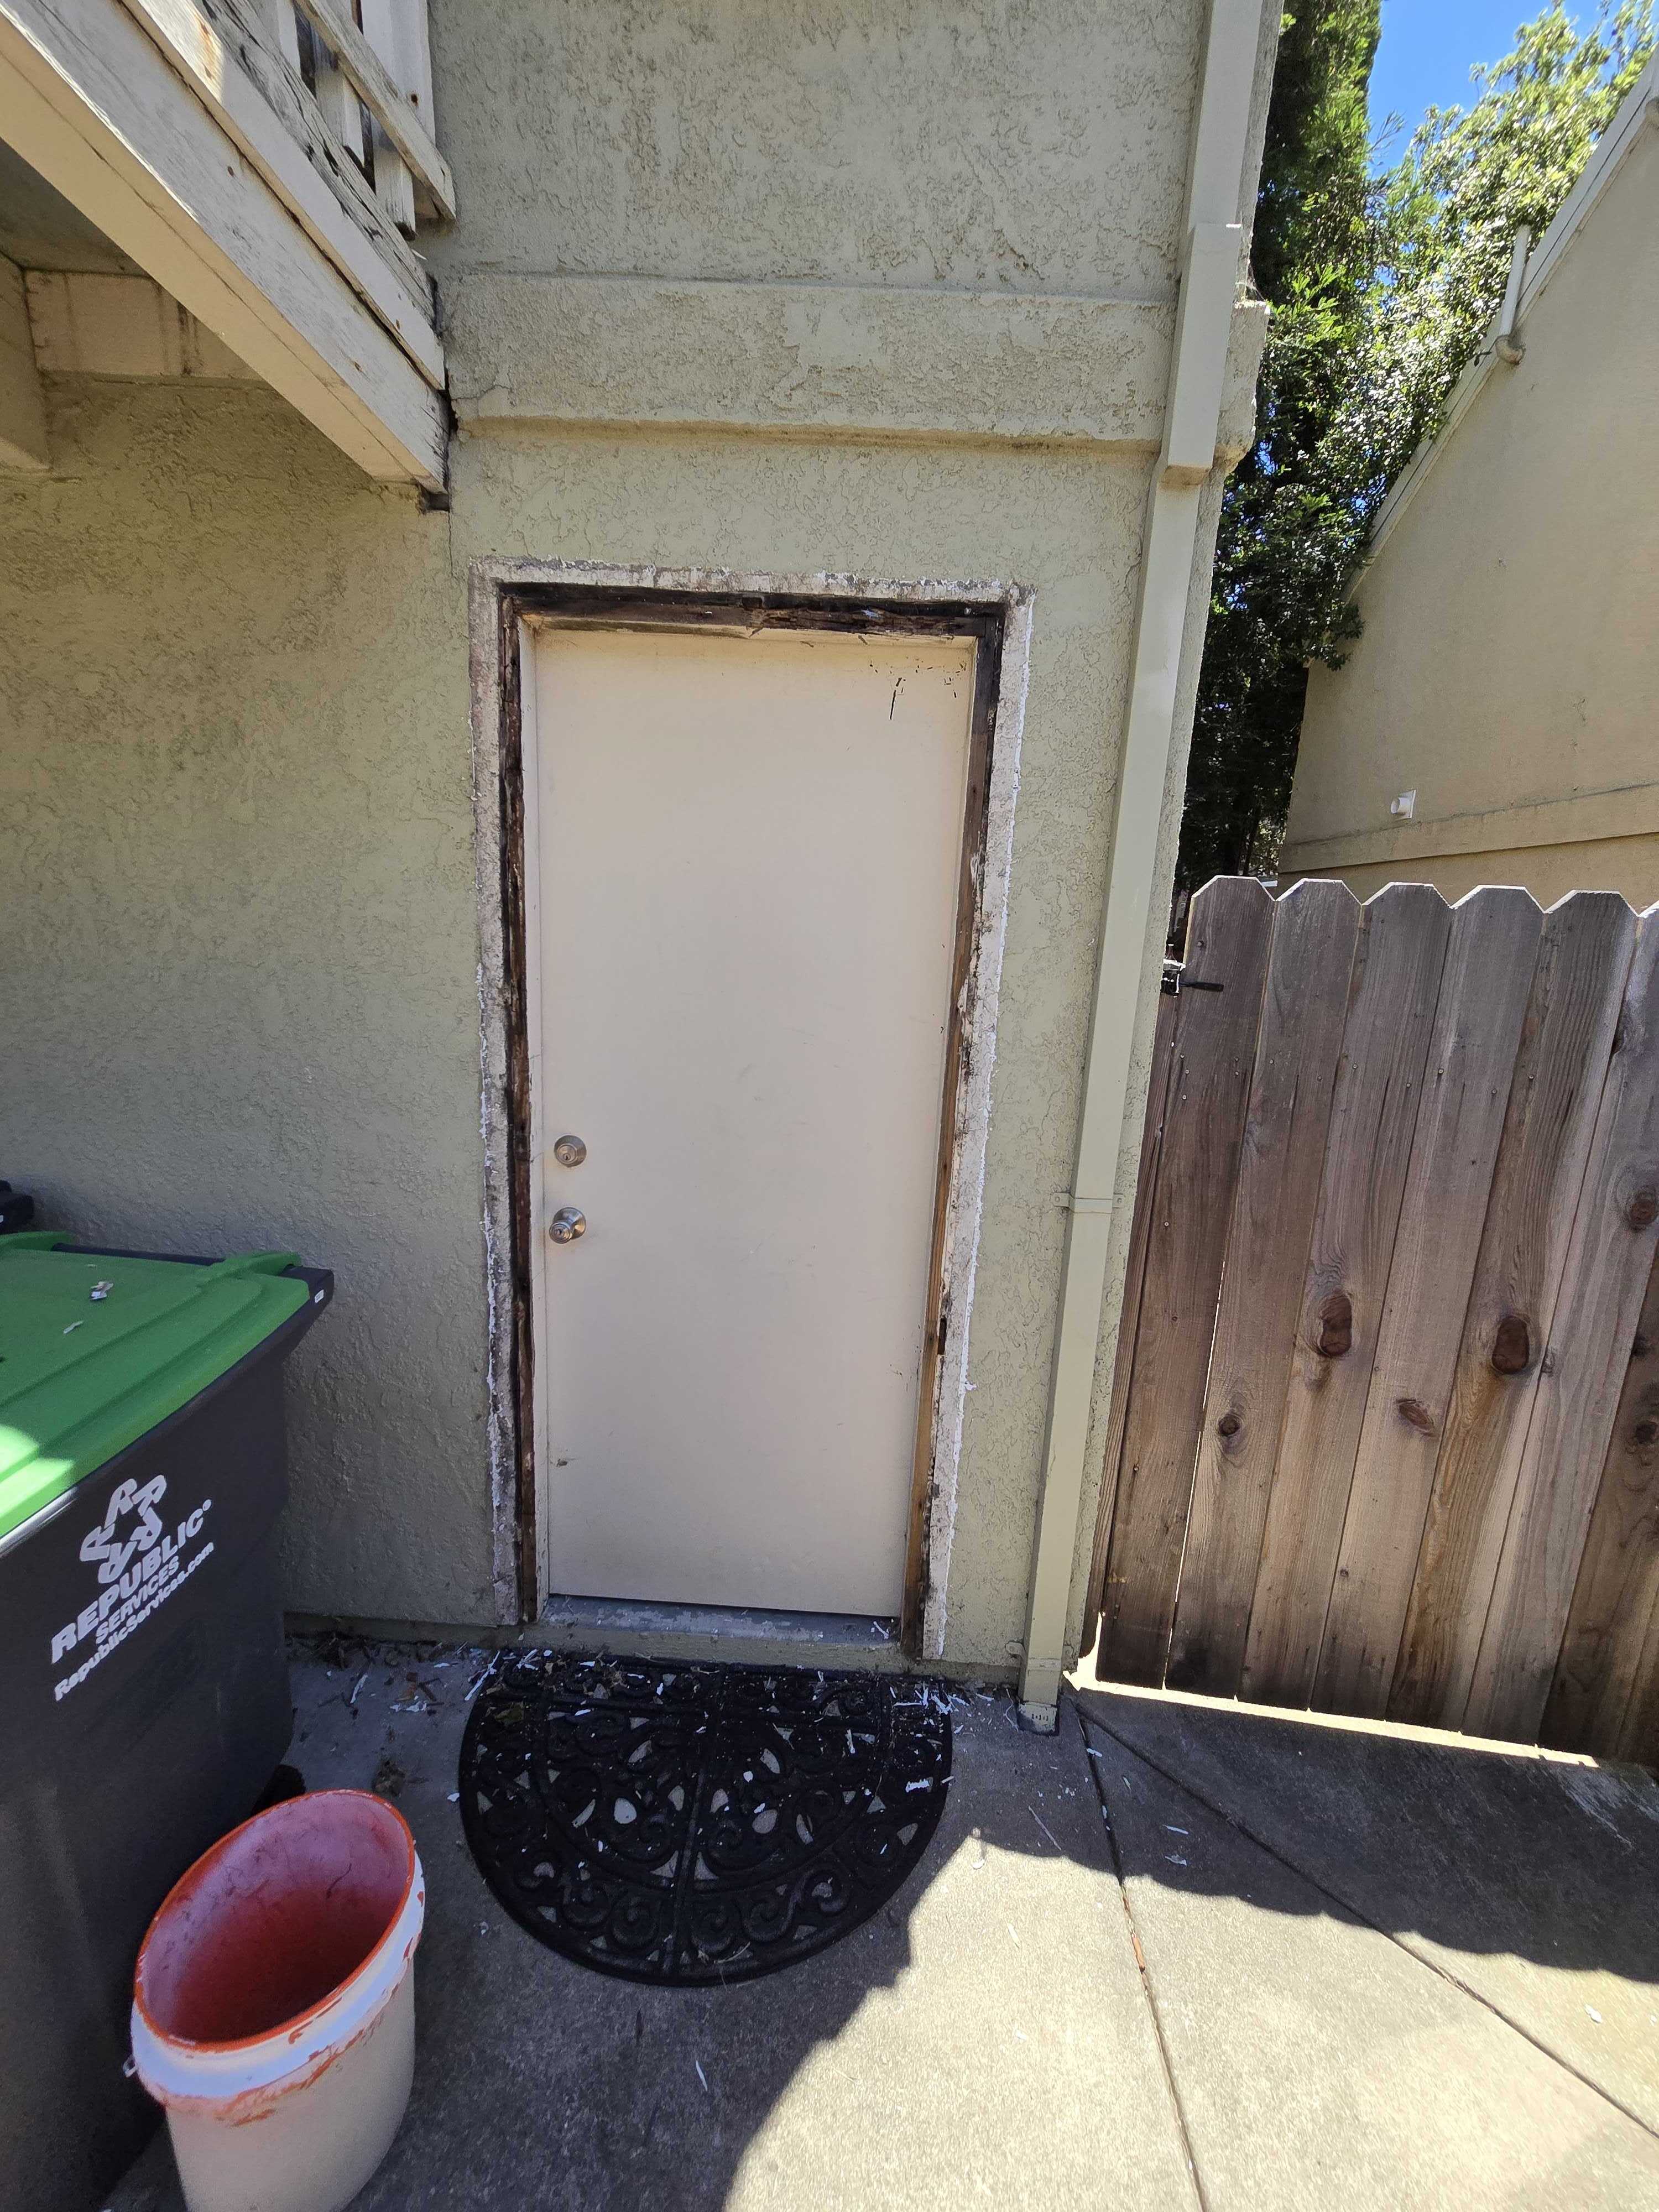
Paint starts lifting
Bubbling, peeling, or cracking can point to moisture behind the finish.
Capture:the damage and what sits above it.
Homeowner field guide · Wood & moisture
A stain, a soft spot, or lifting paint does not tell the whole story. Use this guide to document what you can safely see—without trying to diagnose the repair yourself.
No signup. No tools required. Do not press, climb on, or disturb an area that feels unsafe.
Keep clear and get prompt help if a floor is sinking, a railing moves, wood is falling, or water is near electricity.
See urgent signsStart with what you can see
Read the surface
Look for changes and patterns. You do not need to diagnose the repair.
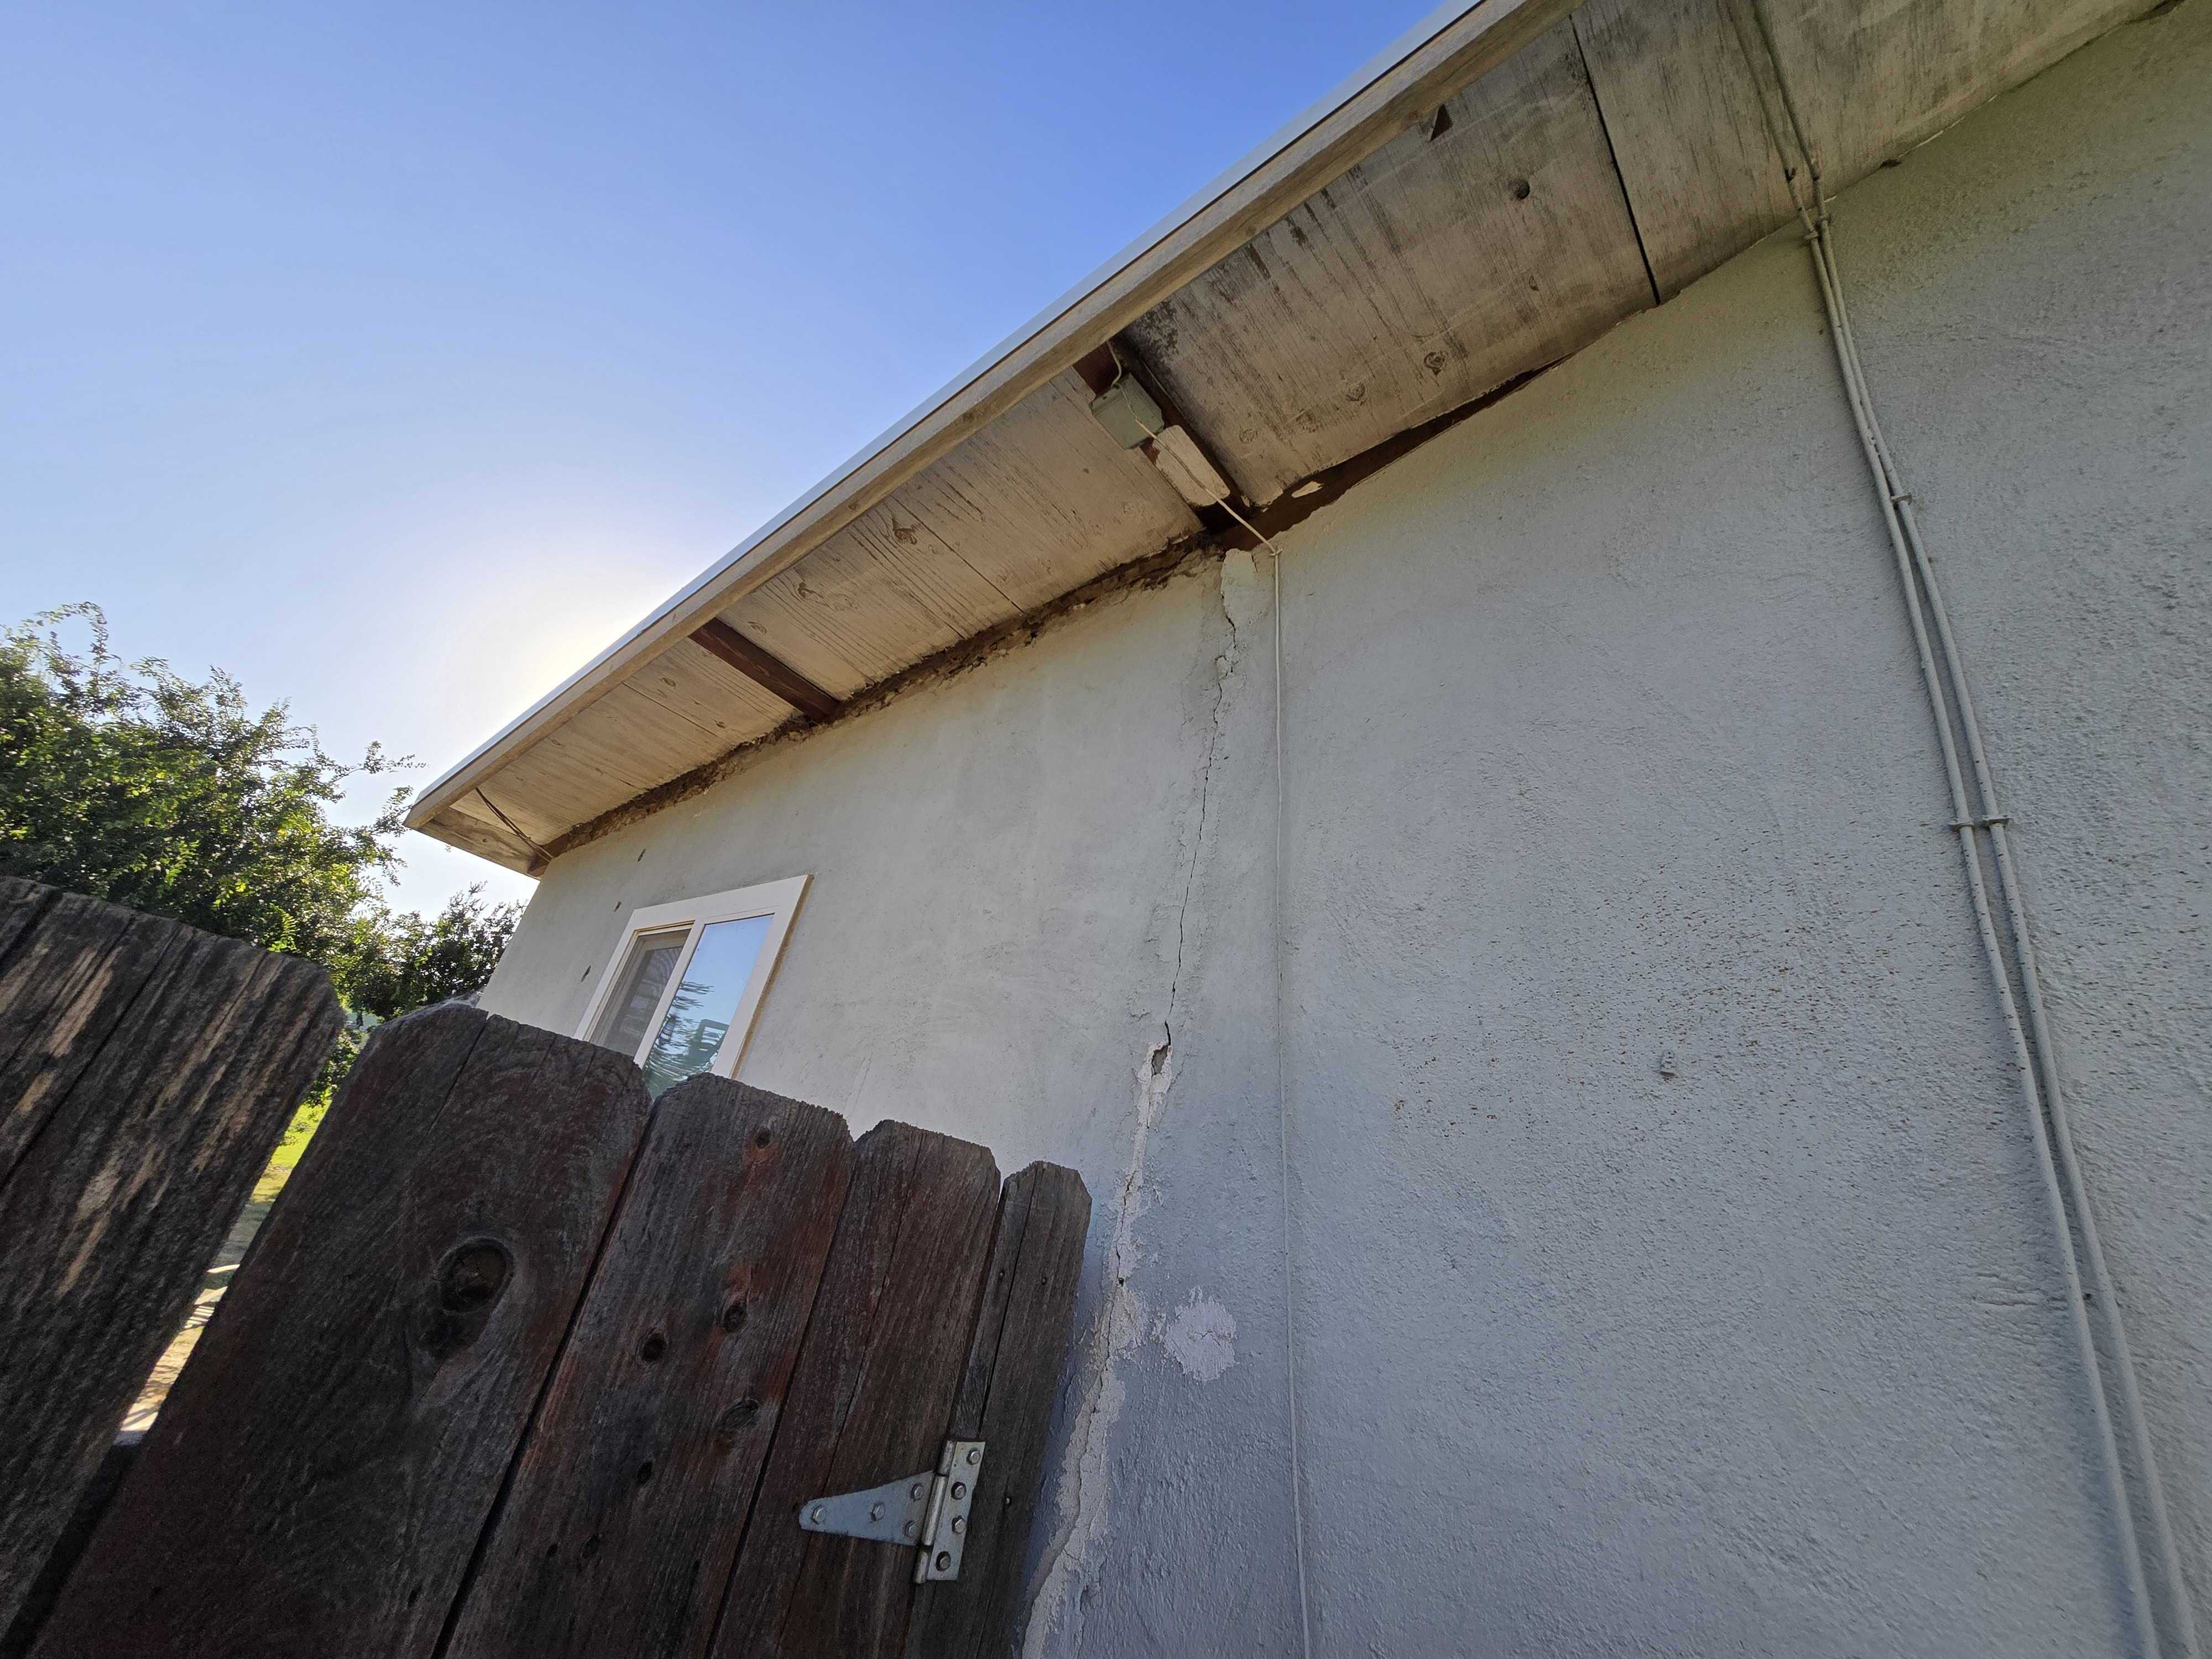
Bubbling, peeling, or cracking can point to moisture behind the finish.
Capture:the damage and what sits above it.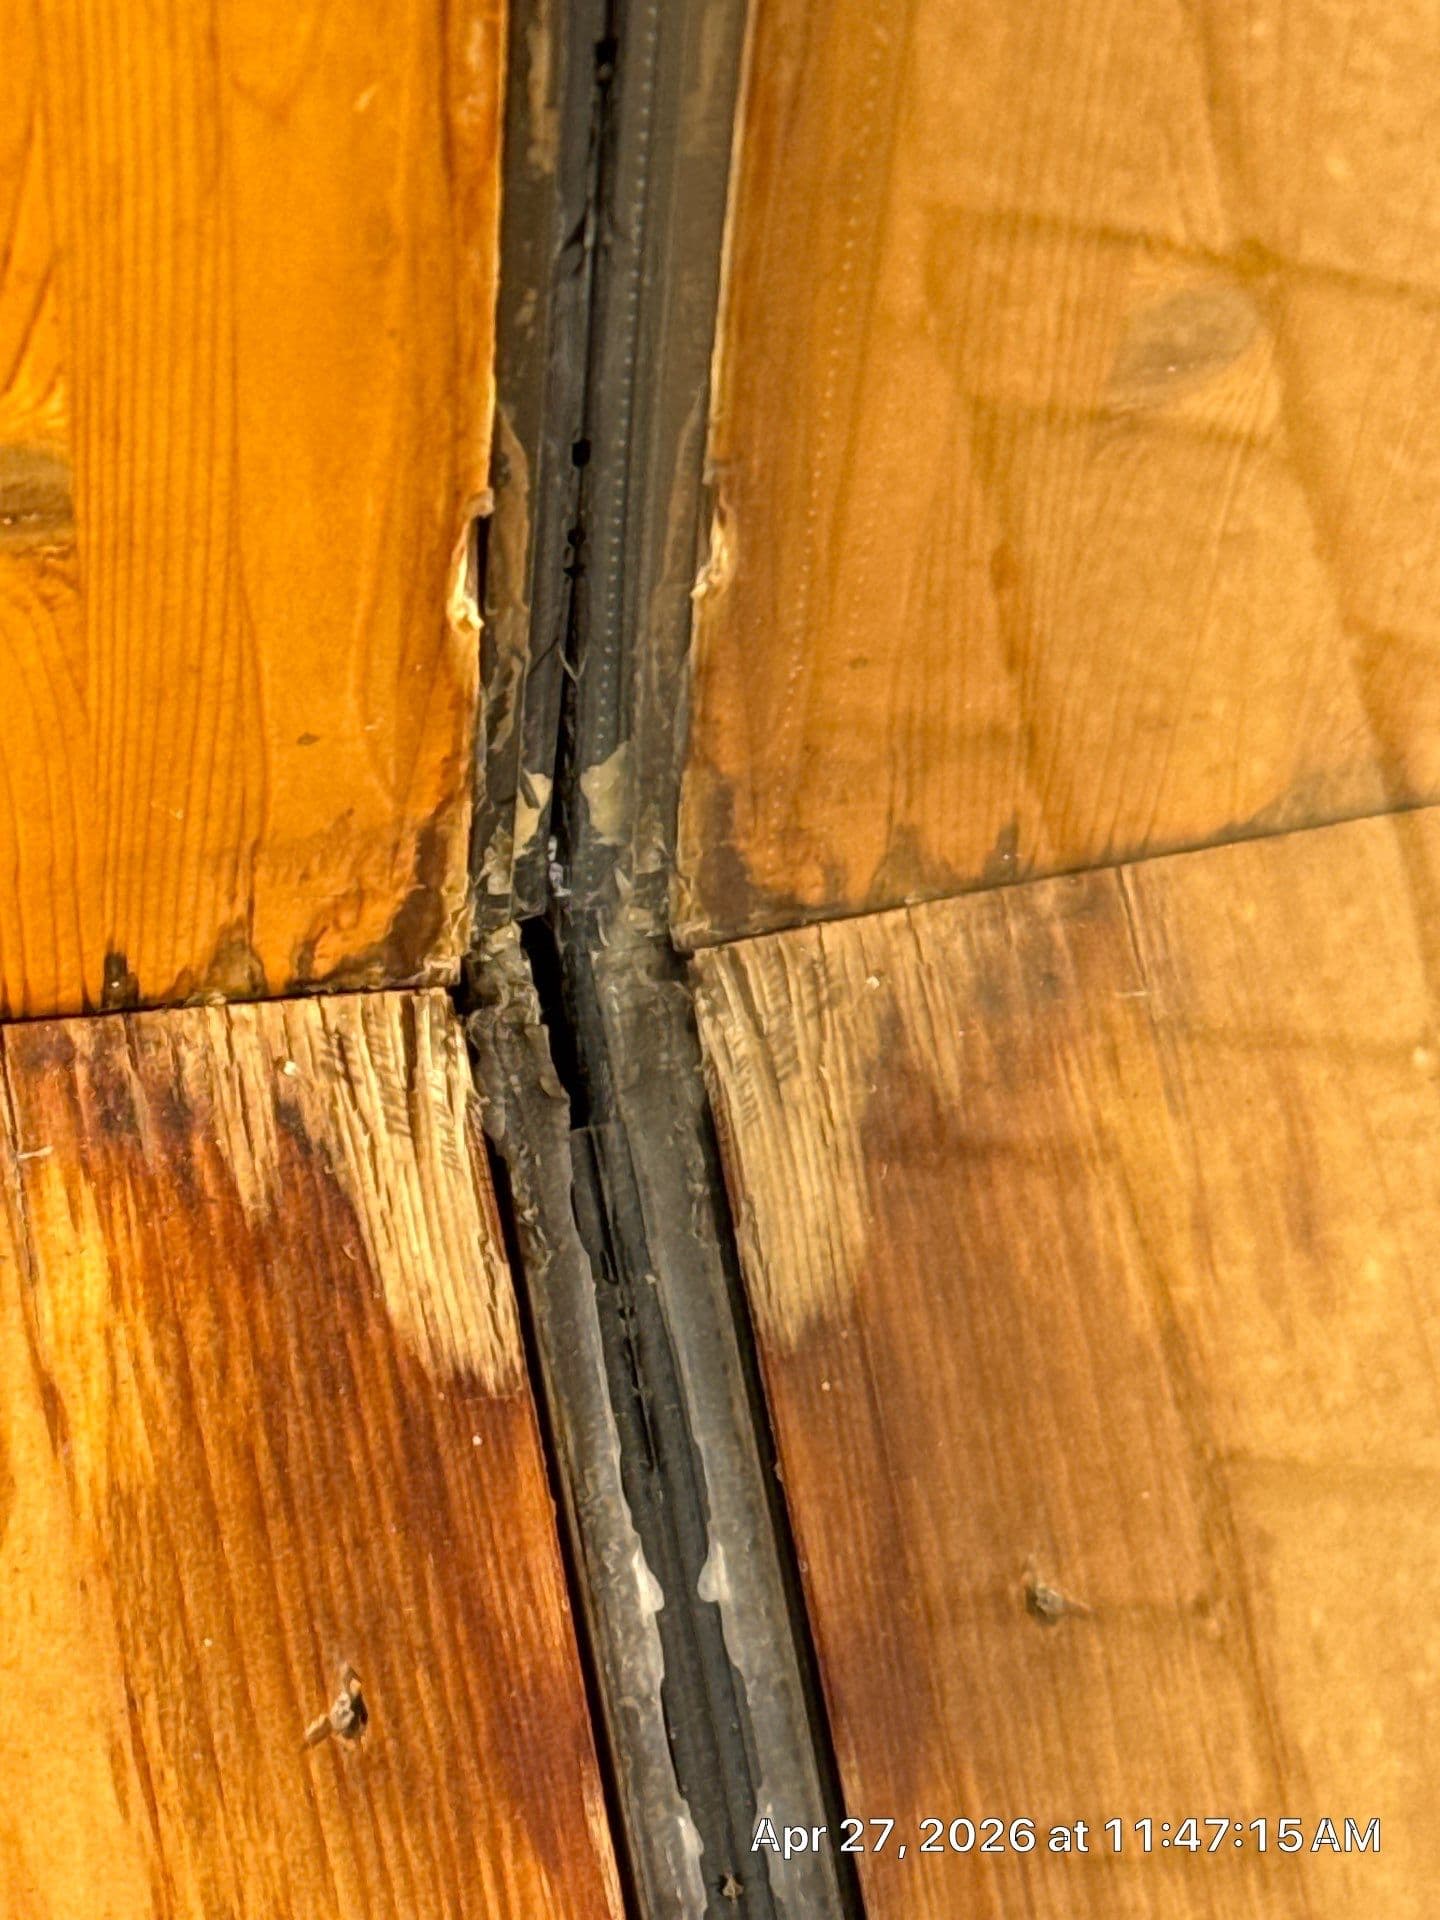
Dark, brown, bleached, or water-soaked areas can reveal repeated wetting.
Notice:when the mark grows.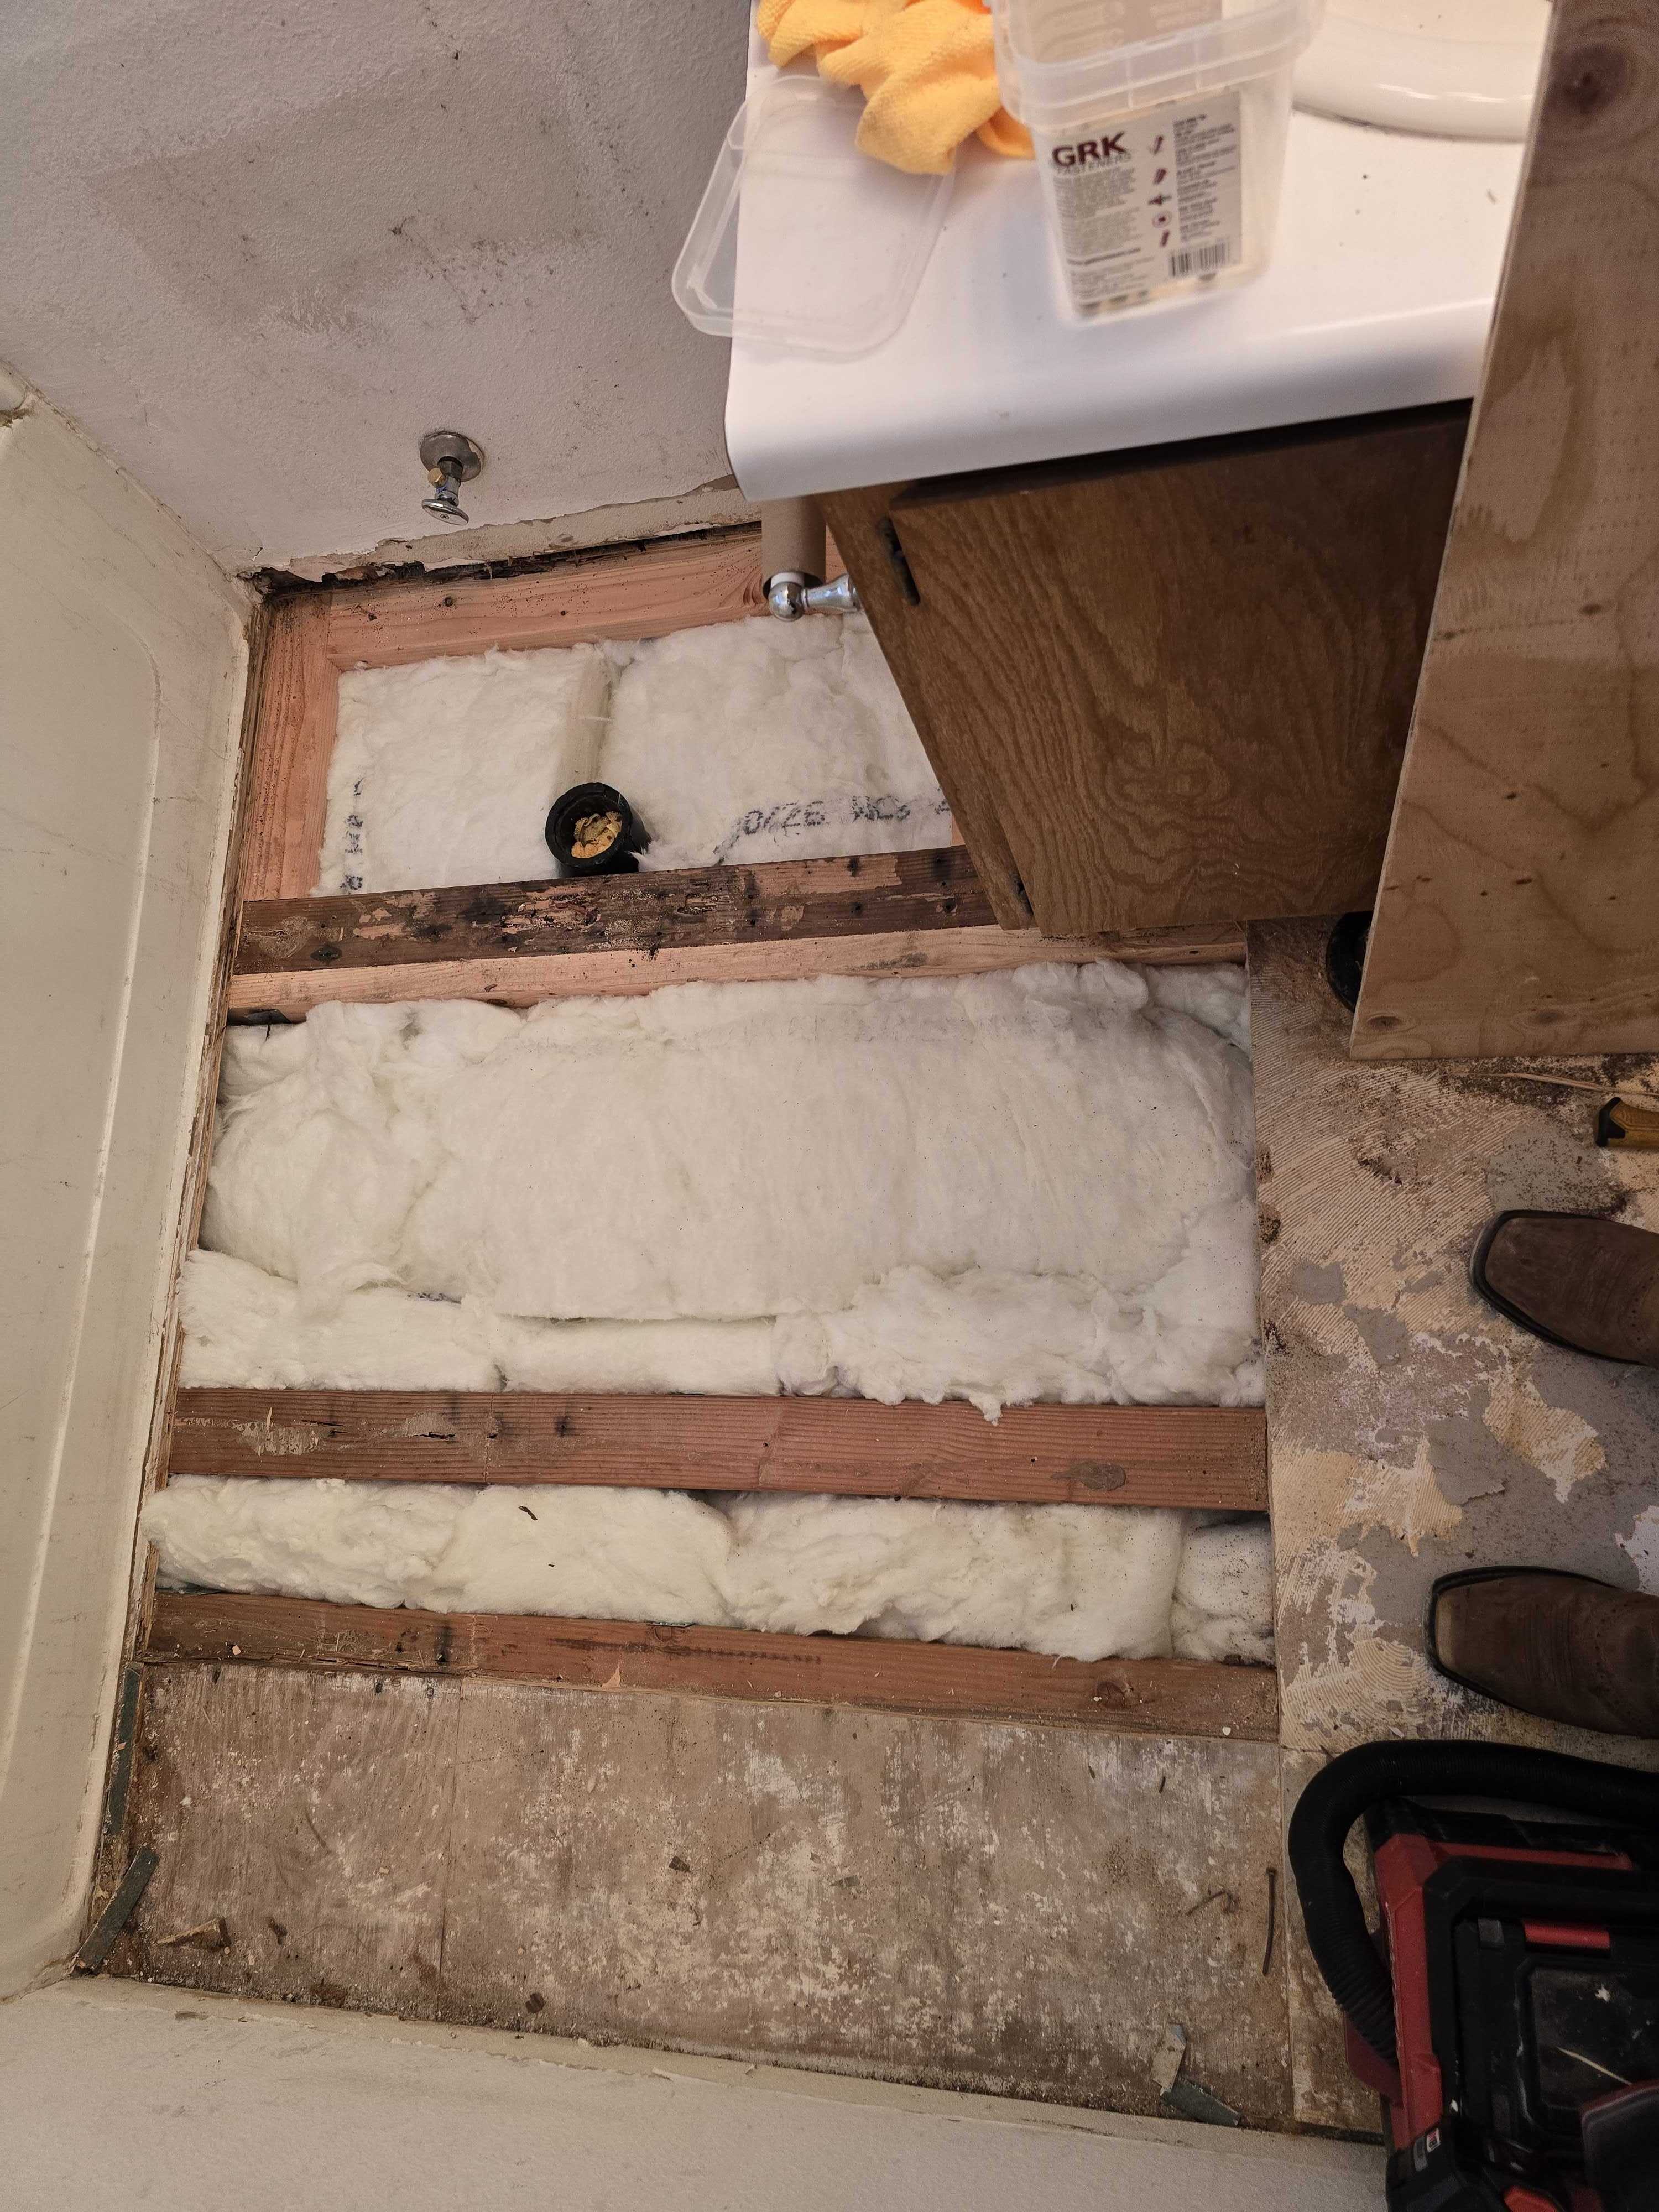
Softness, swelling, or movement can mean the visible surface is not the full problem.
Keep clear:if a floor, stair, or railing moves.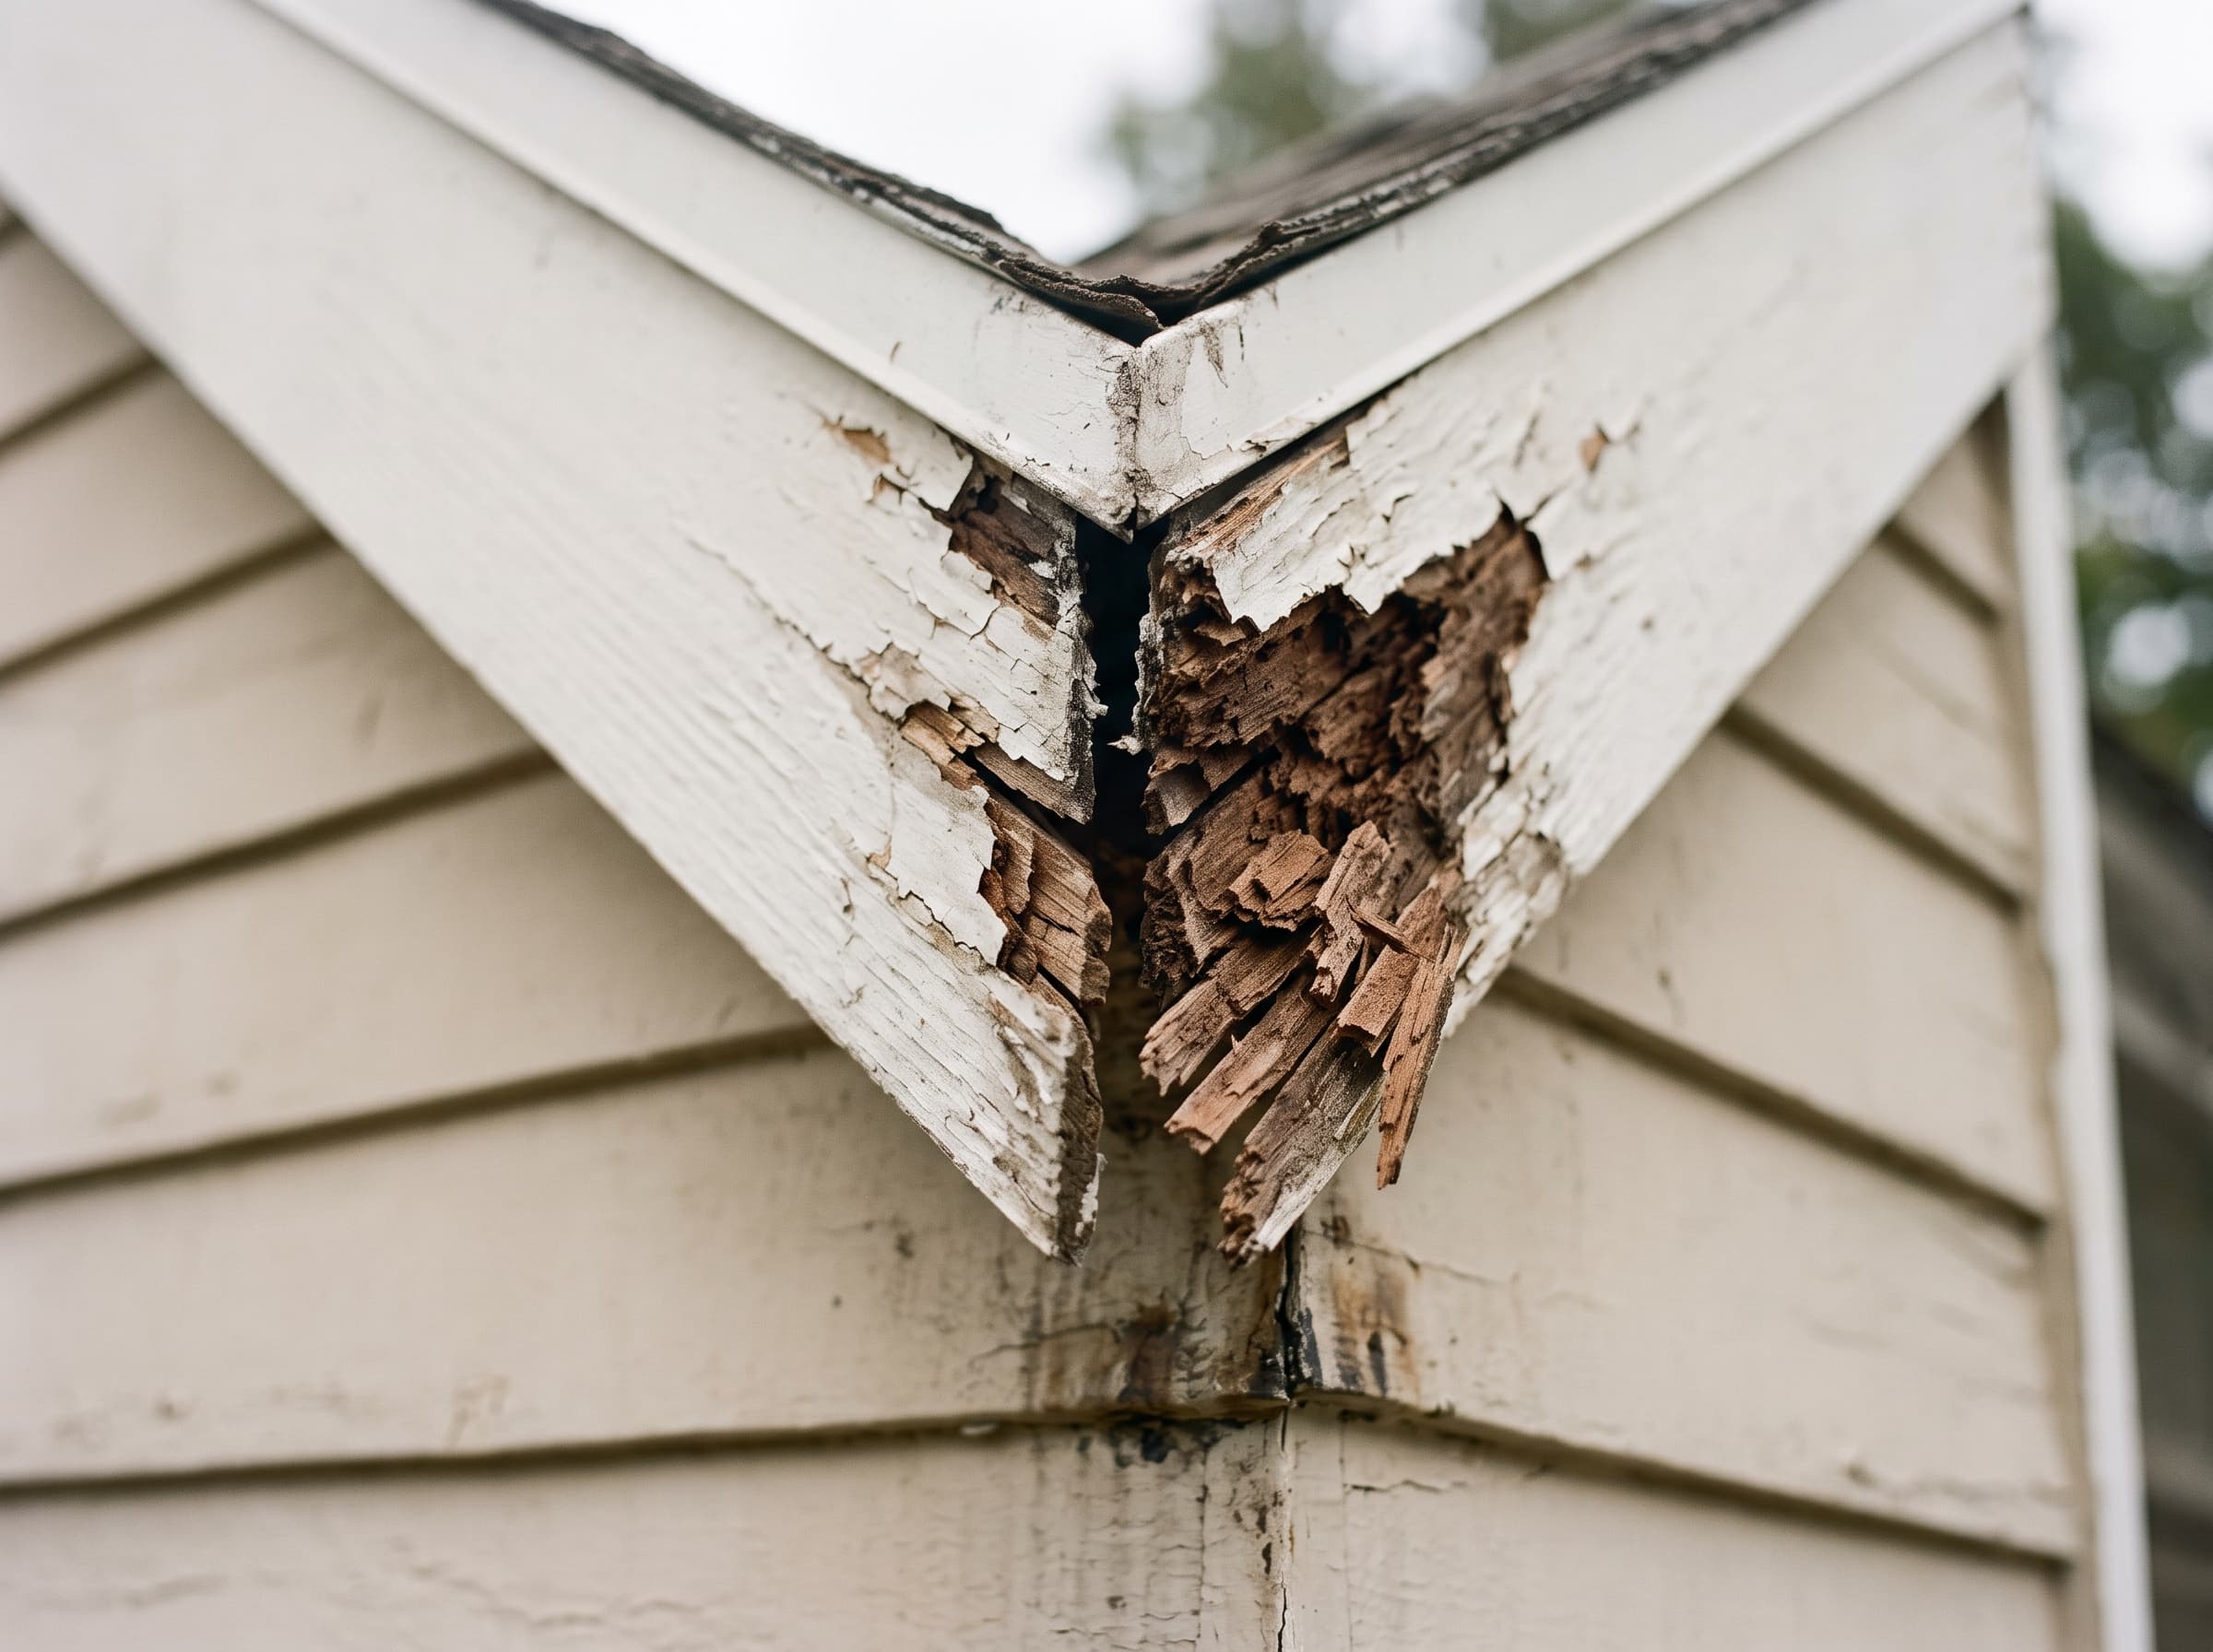
Crumbling corners and open joints can expose a deeper moisture path.
Look nearby:joints, gutters, soil, and splash.One small sign. A deeper repair.
Two or three sinking tiles led to damaged subfloor, joists, and a supporting beam.
Build your observation summary →Where are you seeing it?
Look at
Useful clue: Does it change after rain or sprinkler use?
A safe 5-minute check
Choose only what you can observe safely. Your selections create a short summary you can keep or share with your local craftsman.
Visual inspection can reveal water damage and later-stage decay, but it cannot show the full concealed condition. The moisture source still has to be understood.
What might it be?
Use the pictures and clues to describe the condition—not to self-diagnose it.
 Surface
Peeling paint may be surface wear—or a moisture clue.
 Wood
Softness, crumbling, or bleached wood needs a closer look.
 Pests
Mud tubes, holes, pellets, or wings call for a pest professional.
 Air
Fuzzy growth or recurring dampness may need a specialist.
Choose the next step
Stop using the affected area and contact the appropriate emergency or qualified professional.
Document it now and arrange a review before concealing or repainting it.
Take a dated photo and check again after weather or water use. Escalate if it changes.
Make the first conversation useful
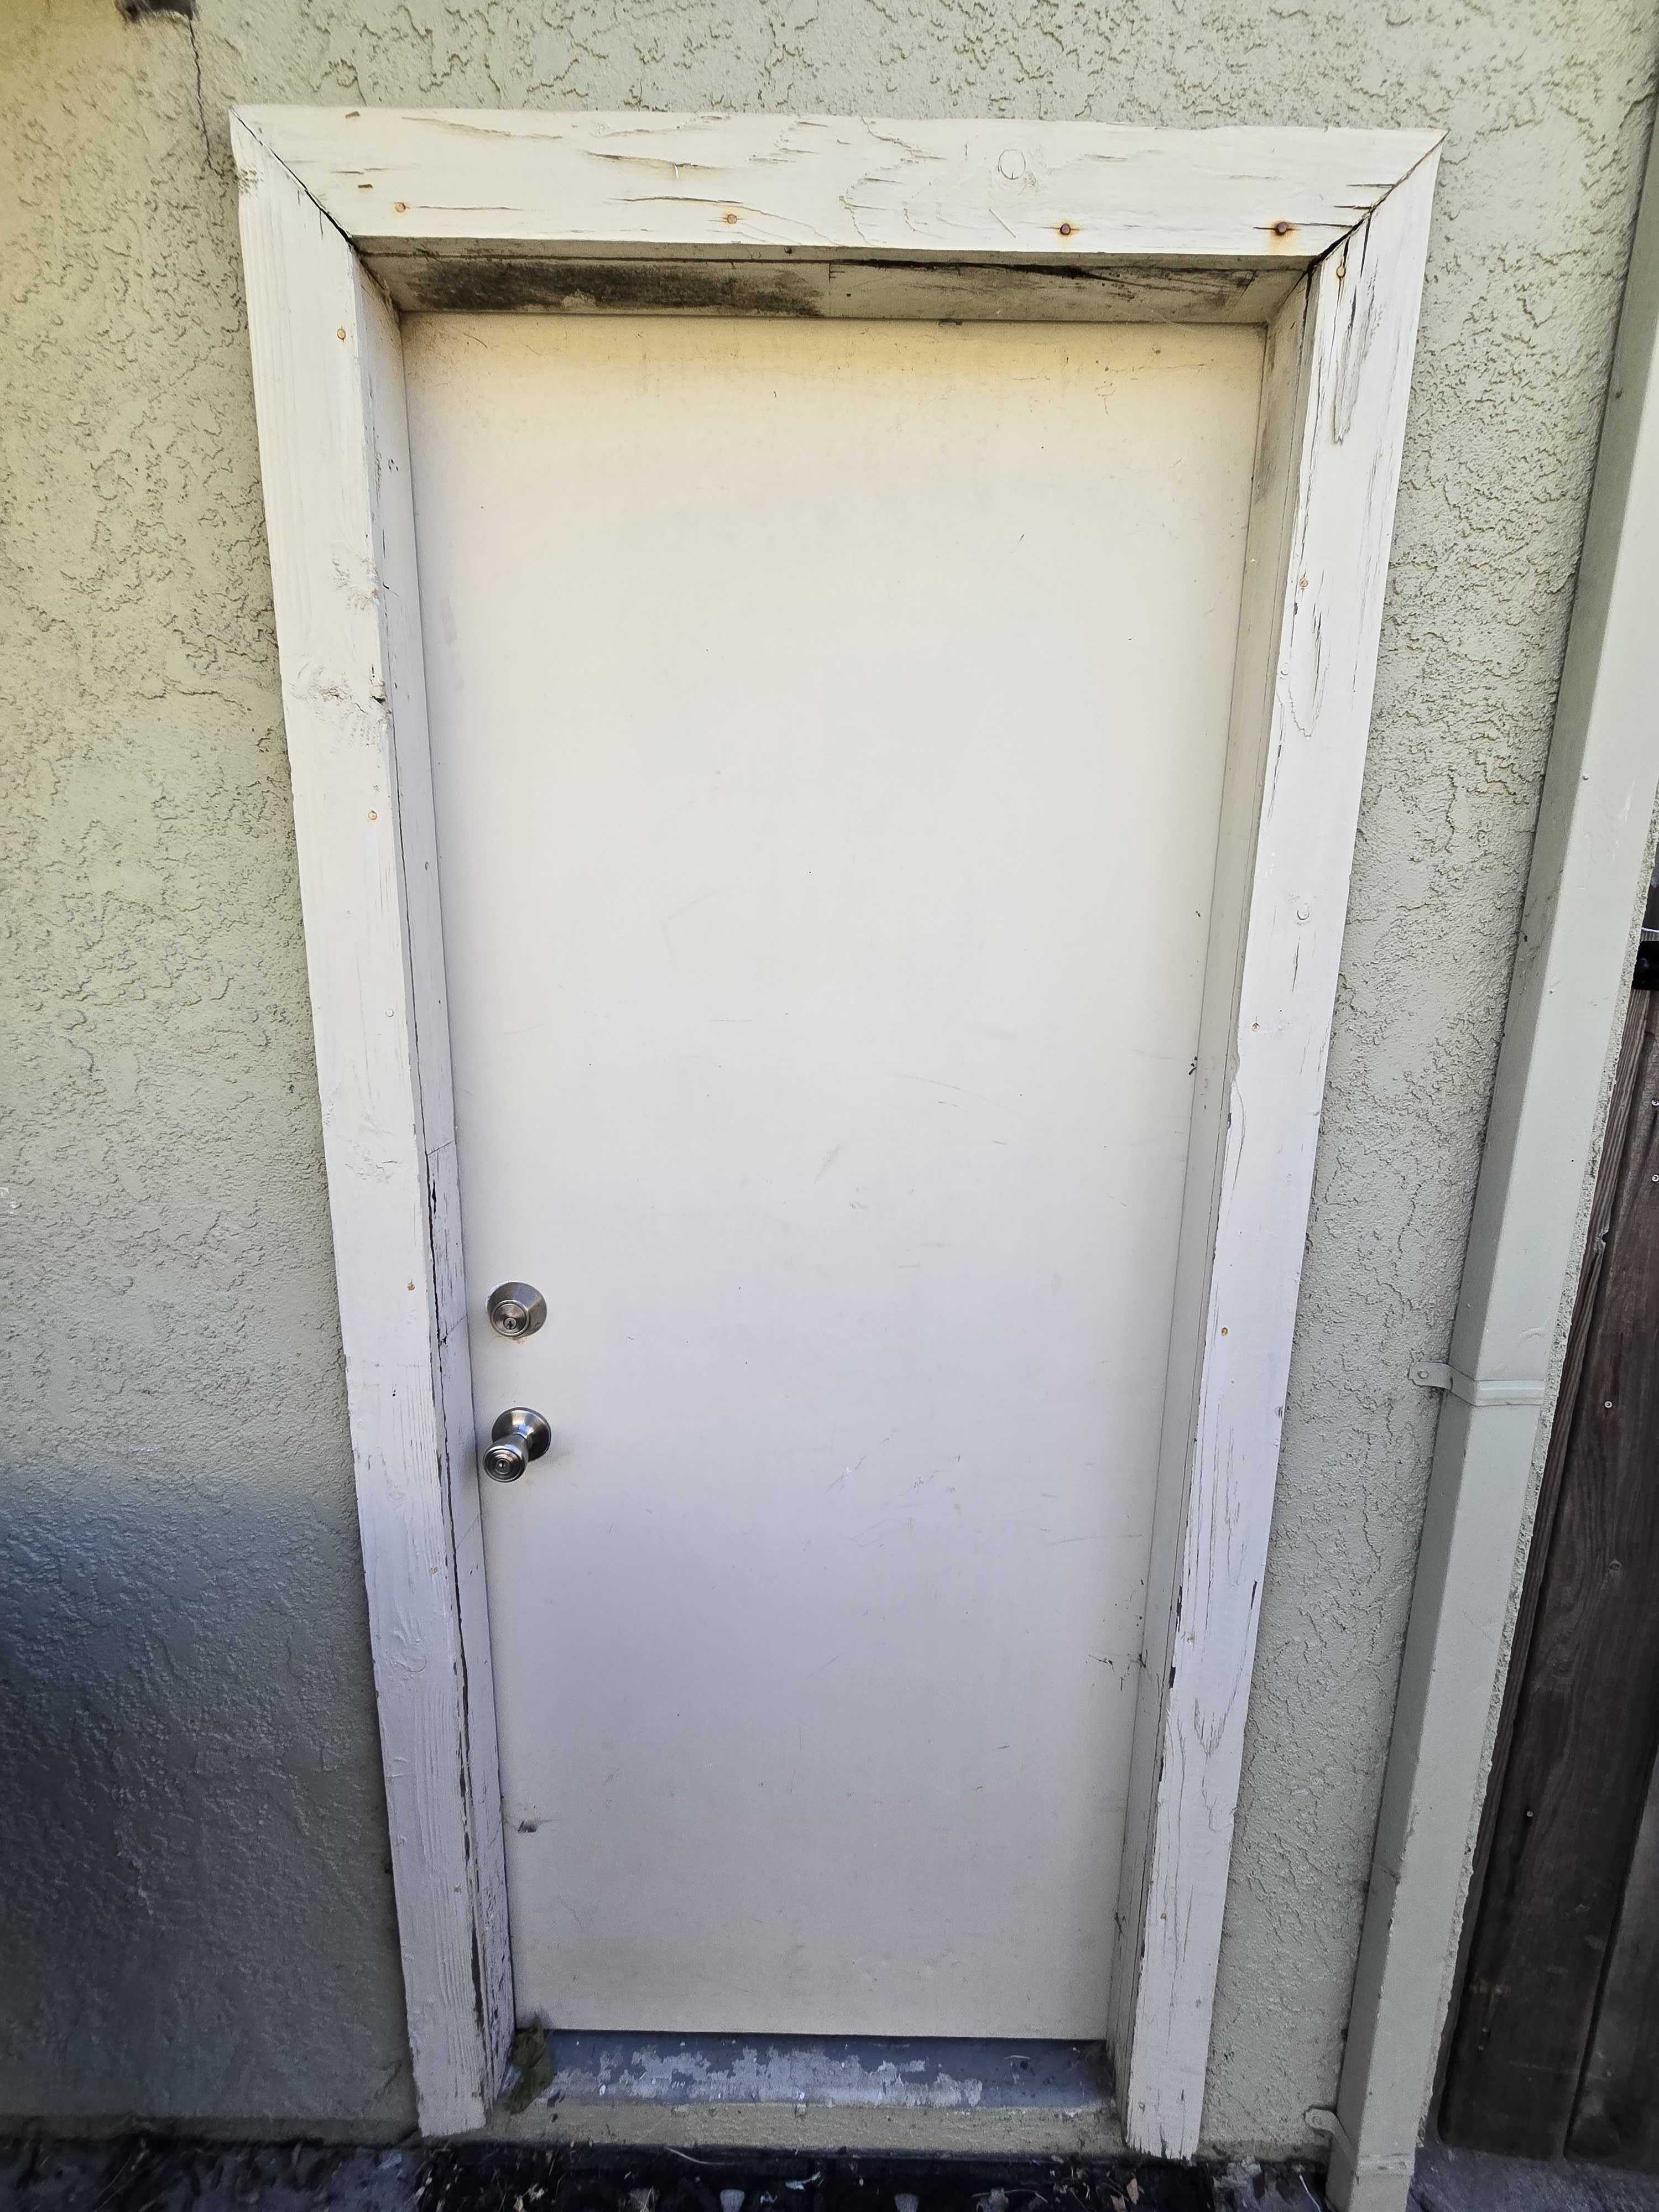 01Context
Show the whole area.
02DamageShow the texture or edge.
03Source clueShow what is above or nearby.
Caught something changing?
Send the address, your observation summary, and the three photos. We’ll start with the visible signs and help organize the next practical step based on area, scope, and craftsman fit.
Start a project requestAvailability depends on service area, trade, schedule, and project fit.
Educational basis: visual indicators and moisture principles are informed by the USDA Forest Products Laboratory’s Wood and Timber Condition Assessment Manual and Wood Handbook chapter on biodeterioration. Observations do not establish the hidden extent or cause of damage.